

































Large Format Tiles Installation Guide
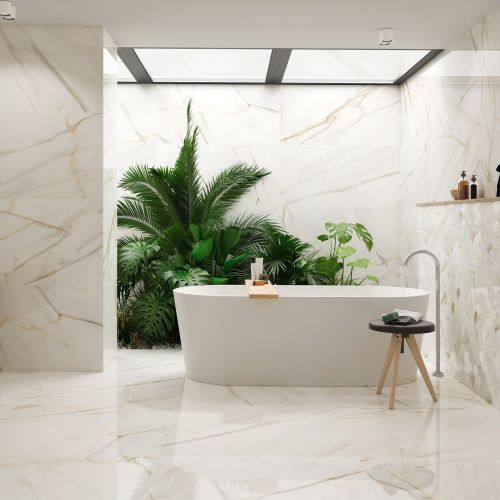
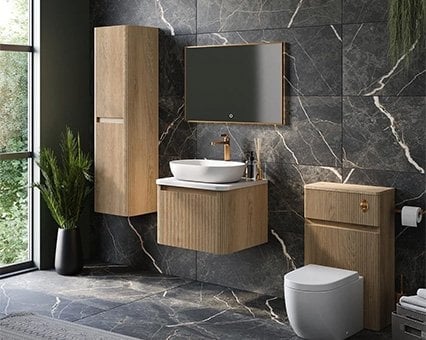
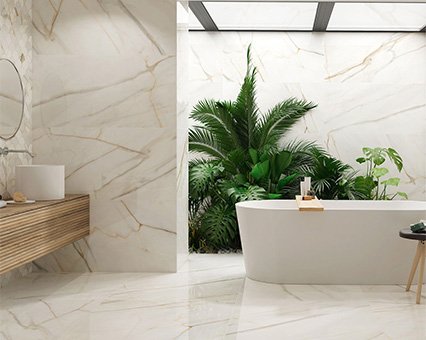
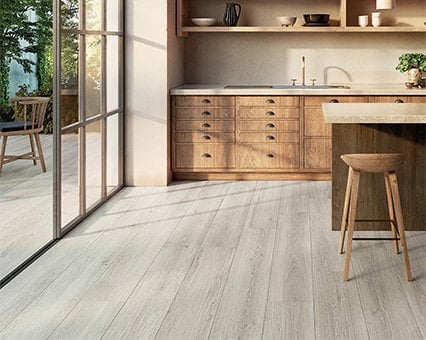
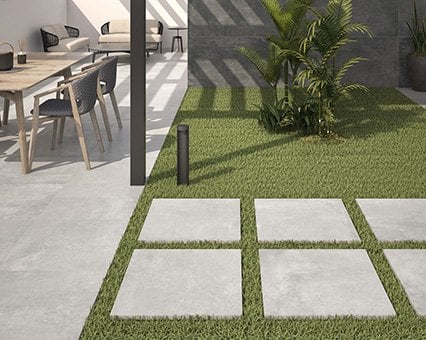
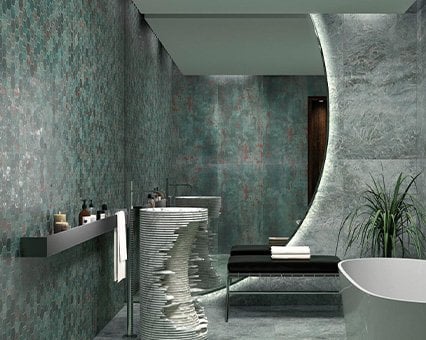
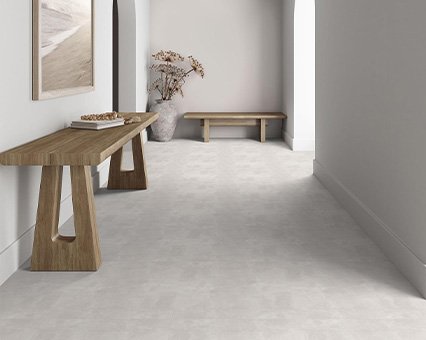
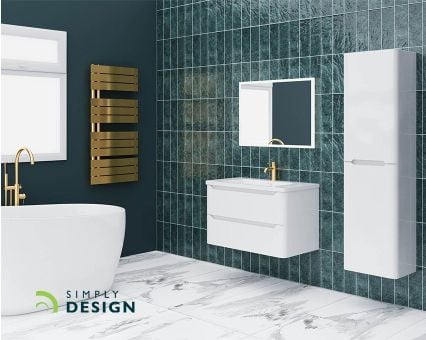
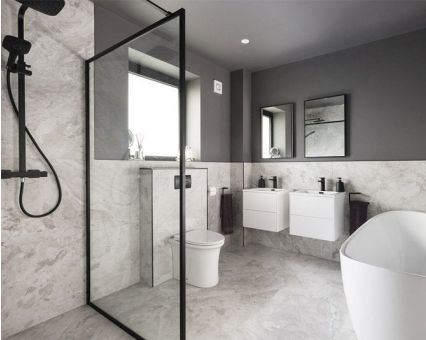
Large format tiles are very ‘vogue’ right now. It’s not hard to see why, their impressive size reduces grout lines which leads to a greater sense of spaciousness and a cohesive finish.
Anything with a side over 900mm is considered a large format tile. Tiling with XL tiles can be a little different to those of a smaller size, there's a few things to think about before opting for these increasingly popular designs.

Layout & Wastage
A general rule of thumb when ordering tiles is to order 10% extra to cover any cuts and wastage which are a normal part of installation. When ordering large format tiles we would recommend adding 30% of the tile order rather than 10%.
The reason for adding 30% of your tile order rather than the usual 10% is to allow for better placement when positioning XL tiles on the walls and floors.
Take a look at the example below to see how adding 30% of the tile order rather than 10% can give a more aesthetically pleasing finish when tiling with large format tiles.
Scenario:
Your wall measures 2.6m wide by 2.4m high. Your chosen tile measures 600x1200mm.
Calculate the wall area: 2.4m x 2.6m = 6.24m²
Adding 10% wastage = 6.86m²
Each tile has an area of 0.72m²
Calculate the amount of tiles required: 6.86m² / 0.72m² = 9.5
(Round up to 10 tiles)

Adding 30% wastage = 8.11m²
Calculate the amount of tiles required: 8.11m² / 0.72m² = 11.3
(Round up to 12 tiles)

Installation Considerations
Walls
Large format tiles are significantly heavier than others, therefore it's important to consider the condition of your walls before tiling. Walls must be significantly flat and able to hold not only the weight of the tile but also the weight of the tile adhesive and grout which you’ll use.Floors
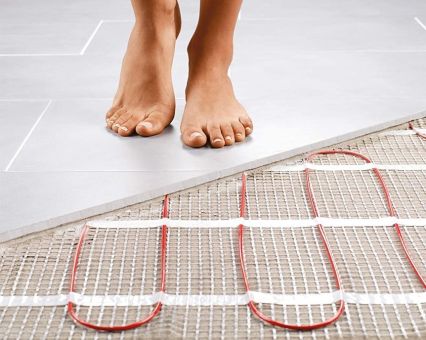
It’s very important that your floors be flat and structurally sound before tiling. There are a number of techniques that can be applied to the floor before laying large format tiles to help reduce the amount of lateral movement in the substrate which will help protect tiles from cracking and debonding.Decoupling and Uncoupling matting systems can be laid before tiling, both similar to each other, designed to neutralise tensions between the flooring substrate and tiles.
Cement boards are an ideal base/substrate as they provide a rigid, robust and flat surface.
Tile Cutter
XL tiles can be cut with manual and electric tile cutters. Not all tile cutters are suitable for large format tiles. You’ll need to either invest in an appropriate cutter or hire one, that is if you're doing the job yourself and not using a tiler who will most likely already have the required tools.A tile cutting saw table is usually the most recommended for cutting large format tiles as they are known for providing a sturdy and stable surface, taking the weight of the tile as you cut.
Lifting Systems & Suction Cups
Large format tiles are difficult to handle due to their size and weight, let alone positioning and placing them without any assistance. For smaller XL tiles generally weighing under 100kg, manual suction cups should suffice, anything larger you may want to consider looking into a large format tile lifting system.Adhesive
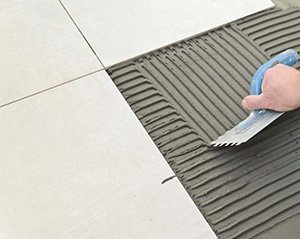
Large format tiles require more adhesive due to their size and weight. Adhesive must be applied correctly to ensure stability. It is usually recommended to use a technique called ‘Back Buttering’ when installing XL tiles, this involves applying adhesive to the back of the tile before placing it on to the bed of adhesive which has already been applied to the wall or floor you are tiling to.How flat the tiles and substrate are affects the amount of adhesive you will need. The less flat, the more adhesive will be needed. The larger your trowel size, the more adhesive will be left behind. Generally you want to aim for an adhesive bed thickness of at least 2 - 3m, therefore a trowel size of 6x6mm would be required.
Grout
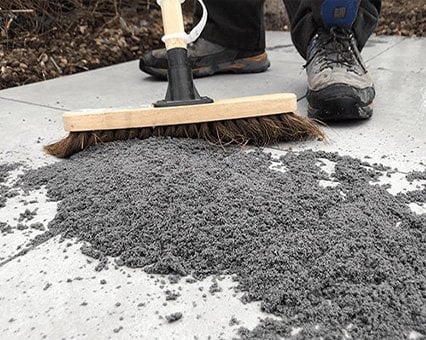
It is essential to give your adhesive adequate drying time before grouting, make sure to follow the manufacturer's specified cure time. Applying your grout too early fills the tile joints which will prevent the adhesive from setting fully, this can lead to instability later on.
Read more from us
May 21st 2015 | 4 min read | By Owen